Upload custom portal web interface
How to add and upload your own custom web interface

Table of Contents
Sample web interfaceVideoConfigure the systemUpload & apply the web interfaceAccess the custom Web InterfaceSample web interface
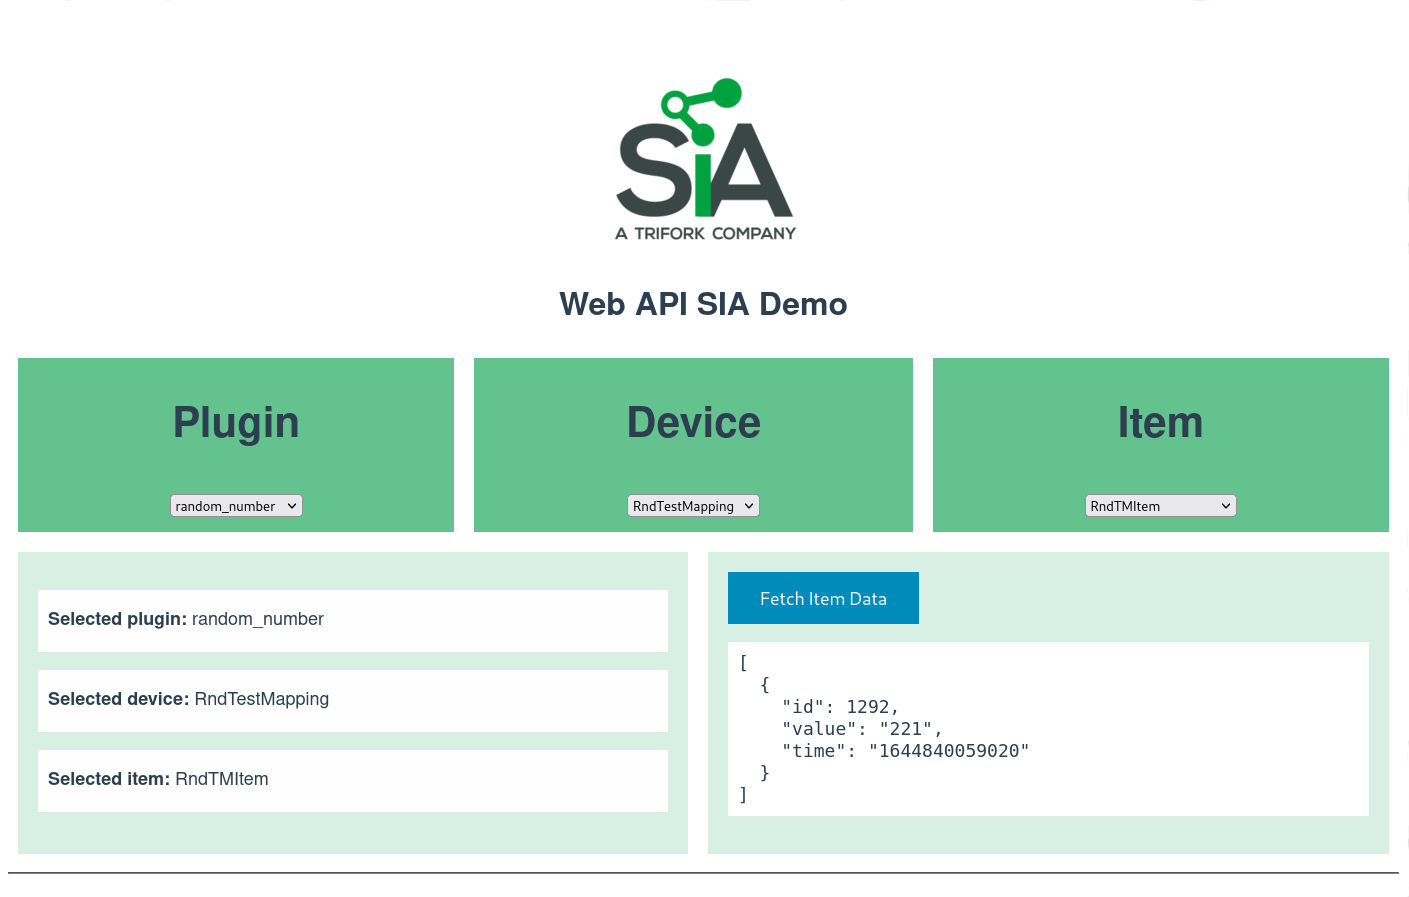
To get started quickly we provide a sample web application that can be uploaded to SIA and used as a custom portal web interface.
The demo web application is written in Vue.js and shows the basic usage of the API with basic setup instructions.
Download the demo source code from: https://bitbucket.org/siagateway/demo-webapi-vuejs/src/master/
Video
The video below shows a video of the sample web interface using the API.
Configure the system
The system needs to be properly configured to handle custom web interfaces which uses an Apache2 web server to handle the web interface.
- Login to SIA using ssh (default IP addresss to SIA can be found in the article Network configuration of client computer)
ssh username@SIA_IP
where username is the SIA username and SIA_IP is the IP address assigned to SIA. The username and password to SIA can be obtained by contacting our support team.
- create a folder where your build files will be copied and change the default permissions
sudo mkdir -p /opt/SIA/web/webcustom/
sudo chown -R mmtec:mmtec /opt/SIA/web/webcustom/
- edit the web server configuration file by using the nano editor
sudo nano /etc/apache2/sites-available/siaweb.conf
- move the cursor after the following section
<Directory /opt/SIA/api/main>
    Options Indexes FollowSymLinks
    AllowOverride All
    Order allow,deny
    Allow from all
    # New directive needed in Apache 2.4.3:
    Require all granted
</Directory>
- and add the following code
Alias /webcustom /opt/SIA/web/webcustom
<Directory /opt/SIA/web/webcustom>
    Options Indexes FollowSymLinks
    AllowOverride All
    Order allow,deny
    Allow from all
    Require all granted
</Directory>
- save the file by pressing Ctrl+X and enter
- finally, restart the web server by running
sudo systemctl daemon-reload
sudo service apache2 reload
Upload & apply the web interface
Build the files of the SIA API Demo simply by running
yarn build
or
npm build
This will generate a folder called dist containing all the built files. Follow the instructions on the repository for further details.
The same concept should apply for any other custom made web application.
The built files need to be uploaded to SIA. This can be achieved in different ways.
- Using WinSCP on Windows:
- Create a new connection to SIA on winscp using the given credentials (username, password) and the SIA IP address
- After logging in, there will be 2 panels. The left one is the host computer and the right one is SIA
- On the host (left) panel, navigate to the built web app files
- On the SIA remote panel navigate to the folder
/opt/SIA/web/webcustom
- Drag and drop the built files from the host to the remote SIA
- Using Linux:
- On a terminal, "cd" into the folder containing the built files
- Execute the following command
scp -r ./* mmtec@SIA_IP:/opt/SIA/web/webcustom/
Access the custom Web Interface
The new web interface should now be available by following the link:
http://SIA_IP/webcustom